
Flight Sim Hardware
Flight Simulation Hardware: A Buy-Order Checklist
The short answer
Buy flight simulation hardware in this order: one primary control (HOTAS, yoke, or sidestick, matched to what you fly), then pedals once you are flying anything with real rudder authority, then a frame or panel additions last. Buying a frame or panel cluster before locking in your primary control is the most common wasted purchase.
Last updated September 2026
| Buy-order (most simmers) | 1. Primary control matched to aircraft type. 2. Rudder pedals. 3. Frame, mount or desk clamp. 4. Panel or gauge add-ons. |
|---|---|
| Platform check, before anything else | Confirm PC vs. Xbox Series X|S first, since a controller needs to be explicitly licensed Designed for Xbox to connect to a console; PC-only hardware simply will not pair. |
| Matching control to aircraft | Center stick or HOTAS for fighters and combat sims; yoke and throttle quadrant for airliners and GA trainers; sidestick replicas for Airbus-family aircraft specifically. |
| Where most budgets go wrong | Buying a frame or full panel cluster before confirming the primary control choice, which usually forces a rebuild once mounting needs change. |
Scroll for more →
What's covered10
- Step one: confirm your platform before you shop
- Step two: match your primary control to what you actually fly
- Step three: pedals, once your primary control is settled
- Step four: frame, mount, or panel additions last
- Step five: plan desk space and USB ports
- A quick sanity check before any flight simulation hardware purchase
- What changes if you're building for someone else
- How to tell if you've outgrown your current hardware
- Where to find specific picks
- Verdict: the right order to buy flight simulation hardware
Flight simulation hardware falls into four broad groups. There are HOTAS sticks and yokes. There are rudder pedals.
Then there are cockpit frames and panels. The group list matters less than the order you buy in. Most wasted money in a first setup comes from buying pieces out of order, not from picking a bad brand.
Step one: confirm your platform before you shop
Before you compare any product, confirm whether you fly on PC or on an Xbox Series X|S. That one fact rules out most of the market. A controller must be licensed and labeled Designed for Xbox to work on the console. That is a hardware and license rule. It is not a driver issue that a firmware update can fix later.
Most classic Thrustmaster and Logitech gear is PC only. On console, look for gear that names Xbox Series X|S on the listing itself. Gear that only says USB or plug and play, with no mention of Xbox, is not enough. Our flight simulator hardware hub shows which current picks carry the Xbox label.
Step two: match your primary control to what you actually fly
Once the platform is settled, pick the control type. Base it on the aircraft you fly most, not on what looks most impressive. A center-stick HOTAS suits fighters and combat sims. A yoke with a throttle quadrant suits airliners and small trainers, where the real plane uses a wheel.
Copies of one real control, like an Airbus-licensed sidestick, suit simmers who focus on one airliner family. Our flight sim yoke roundup covers current yoke picks if that is your group. Buying the wrong type is the bigger mistake. A fighter stick when you mostly fly airliners hurts more than a slightly cheaper model of the right type.
Step three: pedals, once your primary control is settled
Pedals are the most often skipped add-on. They are also the one people most often regret skipping. New simmers often steer with a twist stick or with paddles. That works at first. It becomes a real limit once you fly anything that needs a lot of rudder.
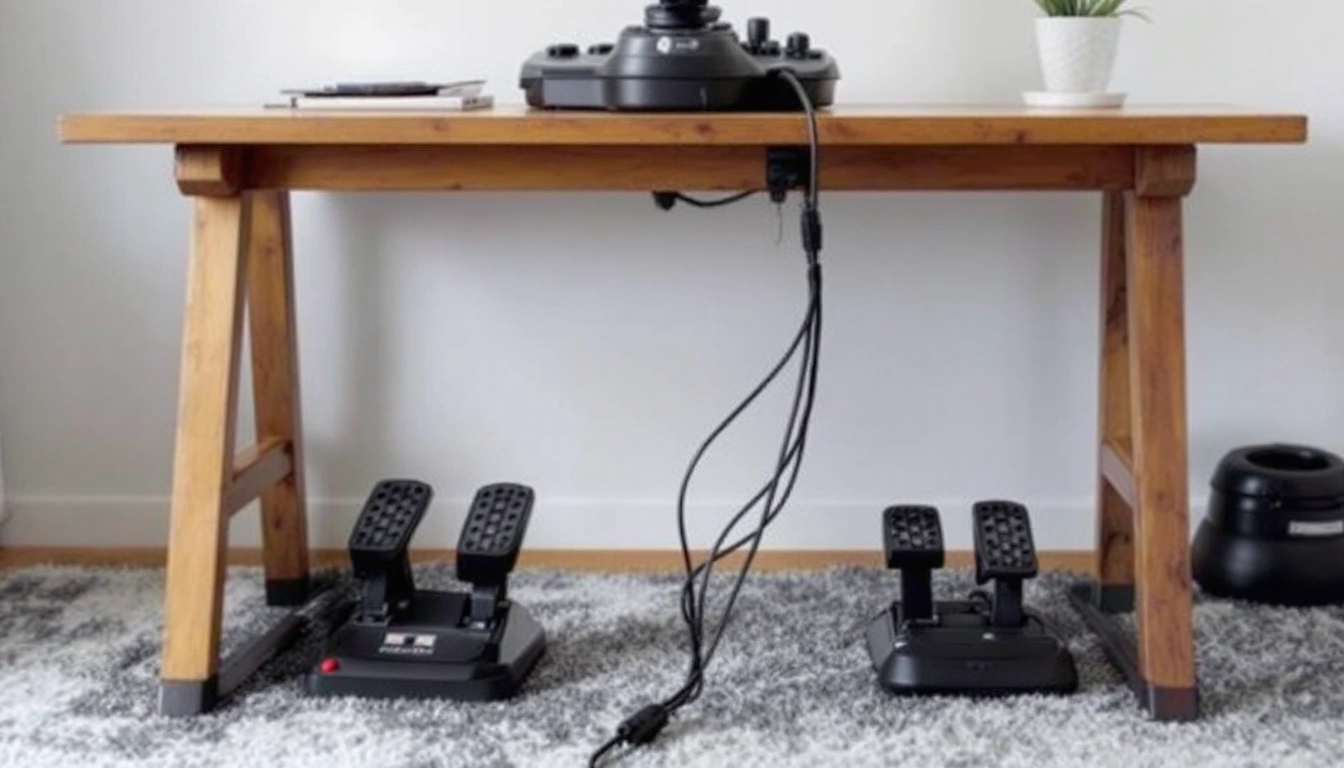
Taildraggers and warbirds need it. So do most small planes in a crosswind landing, and nearly all helicopters. Add pedals once your main control is confirmed, not before. Swapping to a different main control can change how much floor space you have left. Our rudder pedals roundup covers current picks for PC and console.
Step four: frame, mount, or panel additions last
A frame, a desk mount or a cluster of add-on panels comes last. Panels can mean autopilot switches, warning lights or a trim wheel. Size all of it around gear you already own and have used. Don't size it around gear you plan to buy later.
Mounting holes, desk clearance and footwell depth all differ by product. Building around a control you haven't settled on is the most common reason people rebuild a frame within a year of finishing it.
Step five: plan desk space and USB ports
Every piece of flight simulation hardware needs a spot on the desk and a USB port. A yoke usually clamps to the front edge of the desk. A throttle quadrant sits beside it or clamps next to it. Pedals need clear floor space under the desk, with room for your knees. Measure your desk edge and footwell before you order.
Count your free USB ports too. A stick, a throttle, pedals and a panel can mean four or more plugs. Some sets share one cable, but many use one per unit. A powered USB hub keeps devices from dropping out when the sim starts up.
A quick sanity check before any flight simulation hardware purchase
Before you buy anything in this group, confirm three things in order. First, check the platform on the listing itself, not on the brand's name. Second, match the control type to the plane you fly most, not to the one that looks best in photos. Third, ask whether you really need pedals and a frame yet. A simpler desk setup may cover your flying for now.
Jumping straight to a full frame and panel build is the fastest way to overspend. Fly enough hours to learn what you like first.
What changes if you're building for someone else
Maybe you are buying flight simulation hardware as a gift, or for someone at home who has never flown. Resist the urge to buy the option with the most features. A new pilot gets more from a simple, well-built control they can learn on. A control loaded with switches and modes may sit unused for months. Add the extras later, once they know what kind of flying holds their interest.
How to tell if you've outgrown your current hardware
A few signs say it is time to upgrade one piece rather than add a new one. The first is a main control that feels loose or drifts near center. That often points to aging sensors, not to your technique. The second is a throttle or yoke that can't cover the type of plane you have moved on to. The third is pedals you never set up because the desk had no room.
Each of these points to replacing or adding one piece. None of them means you need to rebuild the whole setup.
Where to find specific picks
We break out product picks by group on their own pages, linked from the flight simulator hardware hub. That covers the HOTAS, yoke and pedal groups as well as brand pages. Models and stock change often, so a single combined list goes stale fast.
Some pilots want a full lineup across platforms rather than one group at a time. For them, our roundup of the best controls for PC, Xbox and PS5 is the next stop.
Verdict: the right order to buy flight simulation hardware
Confirm your platform first. Then match a main control to what you fly, and add pedals after that. Only then spend on a frame or on panel add-ons. Following that order keeps flight simulation hardware from turning into a pile of parts that don't fit together. Buy in this order and nothing you own goes to waste.
FAQ
What's the single most important piece of flight simulation hardware to buy first?
Your primary control, a HOTAS, a yoke and throttle quadrant, or an aircraft-specific sidestick, matched to what you actually fly most. Everything else, including pedals and any frame or mount, works better once that choice is locked in.
Do I need to check console compatibility before buying anything?
Yes, if you're on Xbox. A flight-sim controller has to be explicitly licensed and labeled Designed for Xbox to connect to an Xbox Series X|S. That is a hardware and licensing requirement, not something a driver update fixes. Most classic Thrustmaster and Logitech gear is PC only and will simply not pair with a console.
Is it worth buying a full cockpit frame right away?
Usually not on a first purchase. A frame or panel cluster is easiest to plan once you already know your primary control's footprint and mounting needs. Building or buying a frame first often means redoing it once your control choice or layout changes.